Who doesn’t love plastered walls? Plaster walls are like living inside the Rothko painting,” says the best interior designer Leigh Herzig. And if you know Leigh you will easily identify she is talking about Venetian Plaster.
Since ancient times, the material that has been used to finish the walls made its comeback in the 90’s. Nowadays, most Venetian Plaster has been increasingly used for decorating walls or bringing life into the walls. Thanks to Leigh who loves using Venetian Plaster in her interior decorating projects.
To learn more about it and how to use this trend, you are on the right article. So, go through the post and know why it is right for you.
What is Venetian Plaster?
During the Roman Empire, the Venetian Plaster was made of limestone, ground marble, and pigment. Since then its composition has been modified from traditional Venetian plaster which is made of gypsum and can be applied over the wall. Now it has gradually increased its standard material which is now used for both residential and formal architecture.
Moreover, its products are used for synthetic materials. Further it is used for both interior and exterior and it’s high PH level makes the plaster more reliable and extremely resistant to mold. With the Faux Venetian plaster, you can simply add grace in your interior and exterior walls. Additionally, it is more durable than regular paints. Often it comes in various varieties, colors and patterns.
Venetian plaster is known as polished plaster too which consists of marble dust, slaked lime, and marble chips. These are mainly used for ceilings and internal or external walls. Plus, they are potentially preserved with a protective layer of wax.
How to apply Venetian Plaster Finish technique?
Now you know what Venetian plaster is and somehow its uses too. Thus, we are moving our section which is applying Venetian plaster finish technique.
Traditionally polished plaster achieved its effects by certain tools and unique materials that required skilled craftsmen. But nowadays we are lucky enough and products have made it easier to do this task itself without special training.
In today’s products like acrylic polymers offer durability and long-lasting surface as well as great technique to enhance the interior of your home. You have an opportunity to choose from various color variants, so choose the best for your wall.
The best part of using Venetian plaster is you will not need any tools and materials to complete the job. Most basic tool you need is a steel towel and plaster material. In the new drywalls, you also need a preliminary coat of primer or flat wall, so you may need an array of basic painting supplies.
What are the equipment you will need?
- Steel towel (4-6 inch drywall knife)
- Working gloves
- Eye protection
- Paintbrush
- Roller and paint tray
What kind of material will you need?
- 400-600 grit sandpaper
- Venetian plaster
- Drop cloth
- Painting Primer
- Roller cover
- Universal colors
- Paste wax
Instructions/technique and Guide: Follow the 7 Steps
Let us learn how to do plaster finish to add depth texture and finish to your wall.
-
Choose the colors
The very first step of choosing Venetian plaster finish begins with choosing the colors of your choice. Well installing is not a difficult process, but it will be time-consuming. So choose the best colors for your walls and save your time and money over paints.
Opt for the color you like and want to have in your room. If you want to go a little traditional then choose earthy colors and texture. Consider earth tones or neutrals for your plaster colors.
When you choose these colors, it will make your walls look good and stylish. Additionally, if you update the furniture or color schemes this will work like a pro redo of your room. If your décor style is bold and modern then choose the colors that add complement to your plaster.
-
Gather your tools
First let us know about the tools you will need to gather.
- Plastic tarp
- Low lack painter’s tape
- Hawk
- Traditional trowel
- Bucket
- Paint tray
- Drill
- Plaster powder
- High grit sandpaper
Before getting started, one must pack or remove the things from the room. Plastic tarp can be used to cover all the things including almirah, floor, etc. That you can’t remove from the room. Also, low lack painter’s tape can be used for the same. You will need a hawk and traditional trowel to apply the plaster with.
Moreover, if you want to burnish the plaster after applying you will need stainless steel to get it done. The 5-gallon bucket is used to mix the plaster and drill with mixing paddles and to make everything easy and smooth. If you want to add color in the plaster you need plaster powder colorant to make the process easier.
-
Preparation for Venetian Plaster finish
Once you have everything, your next step is getting ready for Venetian plaster finish. The very important thing you will need to remember while doing this is a messy job. When you prepare for the application process, the mess becomes less and you will speed up the work.
First empty the room and apply the painter’s tape on the floor or other things in your room. Make sure you have used traps efficiently so your furniture stays protected. Use High grit sandpaper to sand the walls. Sand as much as you can so the texture comes out properly. Remember not to do sand through the drywall.
Once done, wipe out all the dust from the room and vacuum thoroughly. Remove all the dust particles created by sanding as much as possible.
-
Mixing plaster
Mix the plaster as per manufacturer’s instructions. Some of the plaster comes pre-mixed while other types of plaster need to stir it up and mix up with water before applying. Make sure you have added water and mix it well with an electric drill which is equipped with mixing paddles.
Mix the plaster until it’s not come out in a smooth and creamy texture. Add the color of your choice and mix the plaster again for the proper consistency. Invest your little time in mixing colors from the bottom of your bucket.
-
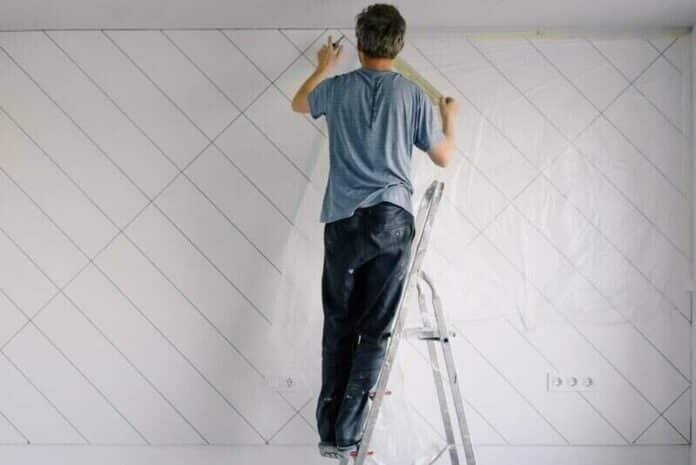
Apply the application
When the color is mixed, scoop up some plaster onto the hawk. It is similar to a roller that holds a small amount of paint to roll on the wall. To get most out of the plaster, position the plaster into the center of the hawk. Make sure to hold the hawk in your well-dominated hand. For instance, if you’re a right -handed person then a hawk should be in your left-hand.
Always scoop up the amount of plaster with the smooth –edged trowel. Hold it between the centres of your body and pick up the hawk and use it in an upward direction.
Now start applying plaster to the wall.
- Hold the trowel flat to the wall and pull the plaster up the wall.
- You can move plaster from left to right for the smooth finish.
- When you reach at the top of the wall or your arm’s reach, and then smear the plaster on the wall and pull it down from the opposite end of the wall.
- Keep the angle the same throughout the process and try to make it smooth as much as possible.
- Remember not to stop at the middle of the wall.
- For the best outcome you should take help of your partner; one is smoothes out the plaster and other is to apply the plaster.
-
Move to the second coat of Venetian plaster
When the first application of Venetian plaster dries (after 4-5 hours) it means your wall is ready for the second coating. The second coating is of matte and smooth finish. To apply the second coat of Venetian plaster, one must apply the coat in a skip-trowel fashion.
Work on the shapes, corners, and spots which you will need to cover up. If you are working with two colors, make sure to cover the first color with the second color in a proper manner. Also, work in a 3-foot by 3-foot section and frequently check back your previous work.
-
Get the final look
To get proper matte finish for your Venetian Plaster on the wall, ensure you’re adding burnishing to it. Add it as much as possible as you like (as per your choice). Once completed, seal your Venetian Plaster with sealant just as traditional paint. The sealant will prevent scratches and stains over the plaster.
The Bottom Line
So, here in this post we have explained what Venetian plaster is and how you can apply it in your room. Also, we have shared precautionary steps and tools you will need to get the best look.
The look of plaster usually depends on the colors you choose and how you have applied that. If you need help, call the experts for the same.
Read Also: 7 Tips on Hiring A Painting Company For Interior or Exterior Painting